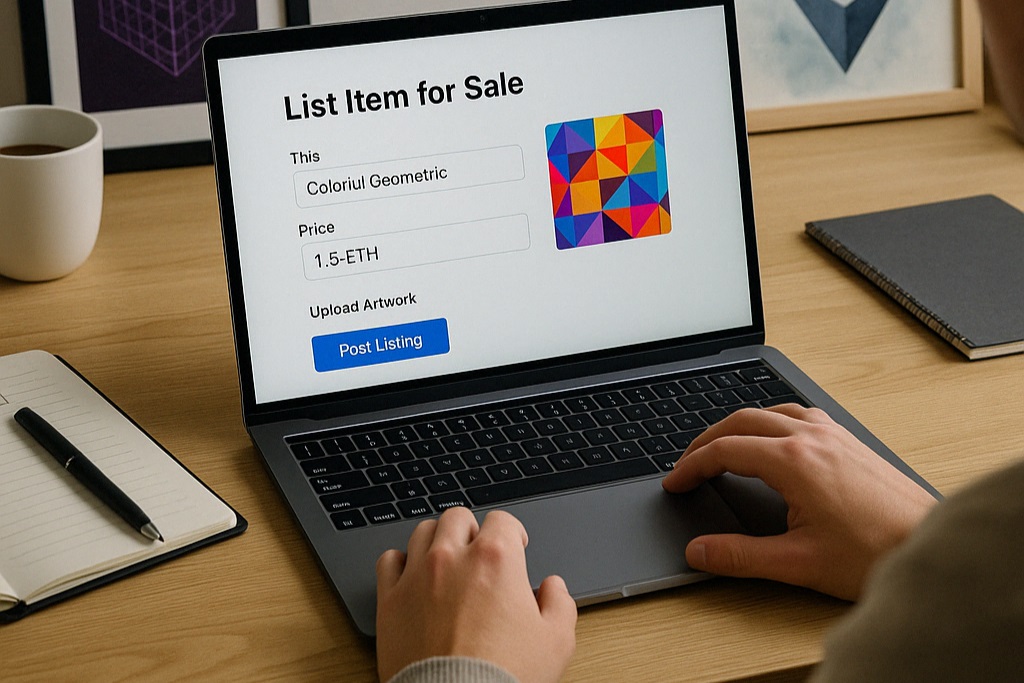
Selling an NFT can be both exciting and rewarding. Whether you’re an artist looking to monetize your digital work or a collector ready to list part of your collection, knowing how the process works helps you stay confident every step of the way.
NFT sales happen across several platforms, but the basics stay the same: you create or own a digital asset, list it for sale on a marketplace, and transfer ownership once it’s sold. The steps might sound technical at first, but once you’ve done it once, it quickly becomes second nature.
What This Guide Covers
This article breaks down the steps to sell NFTs in a simple and direct way. Here’s what you’ll learn:
- Choosing the right marketplace
- Setting up your wallet
- Preparing your NFT for listing
- Pricing your NFT effectively
- Completing the sale and transferring ownership
Whether you’re selling your first NFT or looking to improve your process, this guide will help you understand what to do and how to do it smoothly.
Step 1: Pick a Marketplace
There are several NFT marketplaces, and each has its own style, audience, and blockchain support. Some of the most popular options include:
- OpenSea – Great for Ethereum, Polygon, and a large audience
- Rarible – Offers minting and selling across multiple chains
- Foundation – Curated platform, often used for fine digital art
- Magic Eden – Popular for Solana-based NFTs
- Zora – Creator-friendly platform with dynamic pricing options
Choose a platform based on what blockchain your NFT lives on and where your target buyers are most active.
Step 2: Connect Your Wallet
Before you can list anything, you need a crypto wallet that supports NFTs. Some of the most used wallets include:
- MetaMask
- Coinbase Wallet
- Trust Wallet
- Phantom (for Solana NFTs)
Go to your chosen marketplace and connect your wallet. You’ll see a prompt asking for wallet access. Approve the connection and make sure your NFT shows up in your profile. If it’s missing, double-check the blockchain compatibility.
Step 3: Select the NFT You Want to Sell
Once connected, browse your collection within the platform. Select the NFT you want to sell. On most marketplaces, you’ll see a “Sell” button or similar option on the item’s detail page.
Click it, and you’ll move to a screen where you can customize the sale settings.
Step 4: Set Your Price
There are typically two pricing options:
- Fixed Price – You set a price, and anyone can buy the NFT instantly
- Auction – You allow users to bid, and you choose how long the auction lasts
With a fixed price, be mindful of current market trends. Look at similar items in the same collection or by the same artist to get an idea of what buyers are paying.
For auctions, decide on a starting price and duration. Auctions can generate more interest, but they also require attention, as you may need to accept bids or relist the item if it doesn’t sell.
Step 5: Pay the Listing or Gas Fee
Depending on the platform and blockchain, you may need to pay a gas fee or listing fee. Gas fees are transaction costs paid to the network, like Ethereum or Solana. Some platforms, like OpenSea on Polygon, allow gas-free listings.
If you’re minting the NFT during the sale, you’ll also need to pay the minting cost. But if it’s already in your wallet, you’ll just cover the listing or approval transaction.
After confirming the listing in your wallet, your NFT will appear publicly for sale.
Step 6: Promote Your Listing
Getting eyes on your NFT is just as important as listing it. Share your sale on social platforms like Twitter, Instagram, or Discord. Include images, context, and links that help potential buyers understand why it’s worth their attention.
Collectors often look for background, story, or uniqueness. If there’s anything that makes your NFT stand out—art style, utility, rarity—be sure to share that in your post.
Some artists also collaborate with influencers or join NFT communities to increase exposure.
Step 7: Track Your Sale and Offers
Once your NFT is listed, you can track its performance. Some marketplaces notify you of views, likes, or bids. If your NFT is on auction, you’ll want to check in regularly to see how it’s going.
In fixed-price listings, the sale happens automatically once someone buys the NFT. The funds, minus any platform fees, will show up in your wallet.
For auctions, you may need to manually accept the highest bid at the end of the auction period, depending on the platform.
Step 8: Confirm Ownership Transfer
After a successful sale, the NFT will automatically transfer to the buyer’s wallet. This process is handled by the smart contract and confirmed on the blockchain.
Once the transaction is complete, the buyer now holds full ownership of the NFT. You’ll still be credited as the original creator if you minted the piece, and if royalties are enabled, you’ll receive a share from future resales.
Step 9: Review Your Sales and Plan Next Steps
Whether you’re selling just one piece or managing a full collection, reviewing your results helps improve future listings. Ask yourself:
- Did my NFT sell quickly or take time?
- Was the pricing strategy effective?
- Did my promotion reach the right audience?
Use that insight to plan future drops or adjust your marketing efforts. Over time, you’ll build a stronger understanding of what buyers respond to and how to position your work.
Selling NFTs is more than just listing digital files—it’s about building connections, telling stories, and participating in a growing creative economy. The process gets easier the more you engage, and each sale helps shape your presence in the NFT world.

No Responses