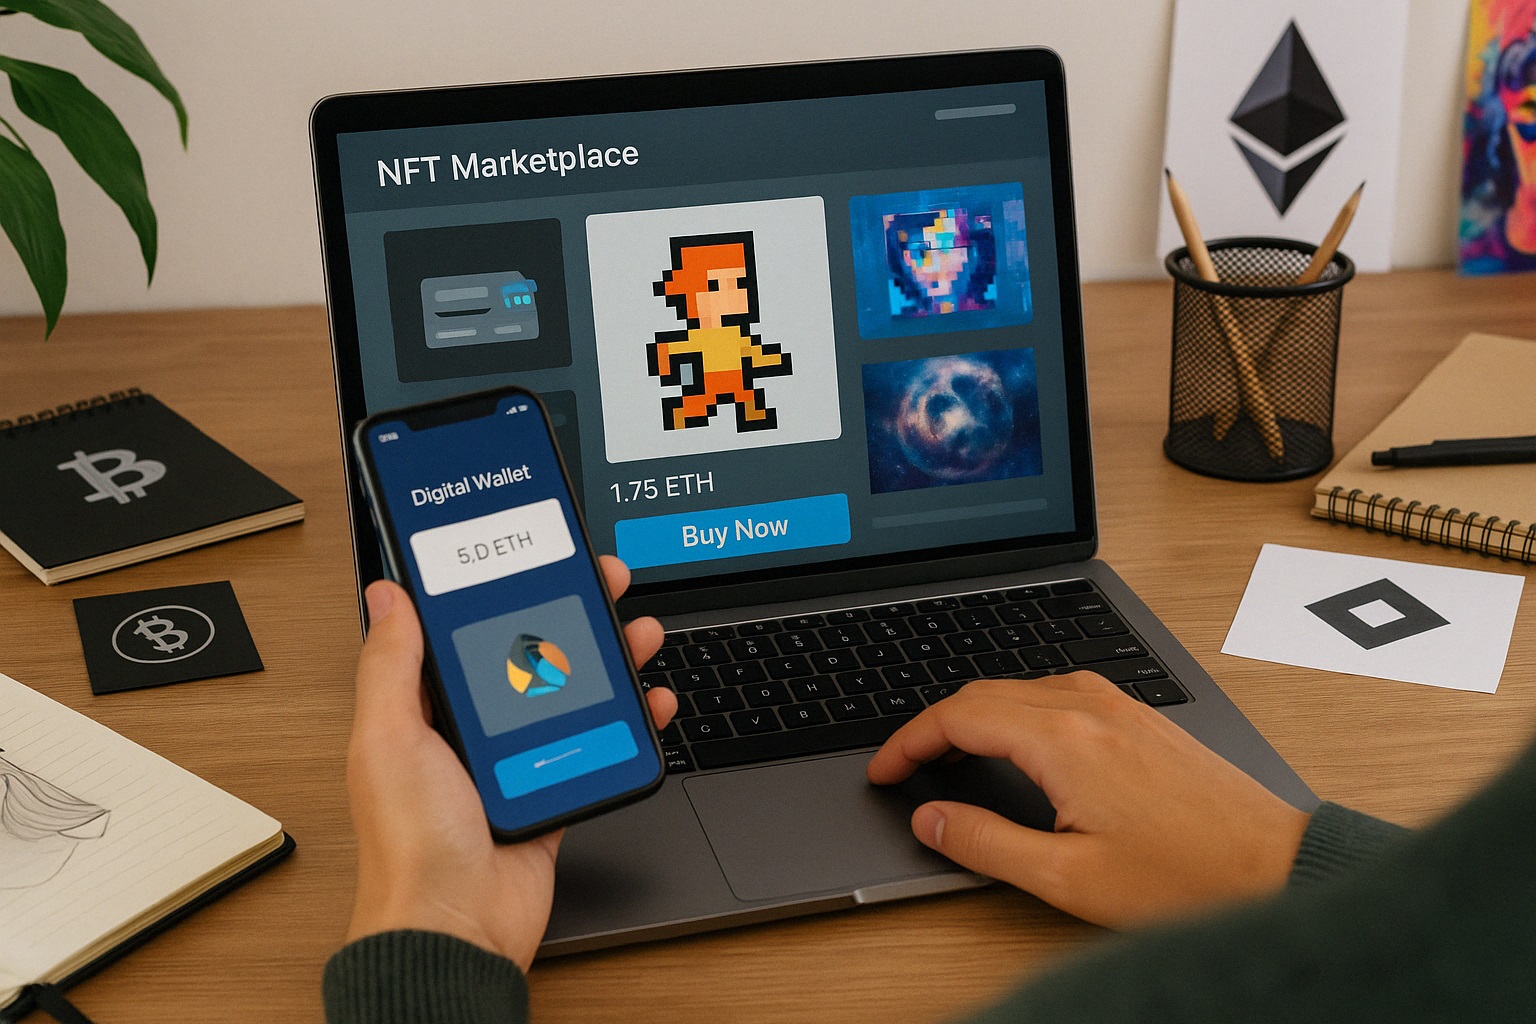
Buying an NFT for the first time can feel like stepping into a new world. If you’ve seen digital art selling on social media, or heard friends talk about blockchain collectibles, you might be wondering how it all works. While the process may sound complex at first, it becomes much simpler once you break it down into steps.
NFTs represent digital ownership. They can be art, music, game assets, or even virtual land. Whatever form they take, the process to buy them usually follows a similar path—set up your wallet, fund it with crypto, find a marketplace, and make your purchase.
What You’ll Learn in This Guide
This article walks through the basic steps of buying NFTs in a way that’s beginner-friendly. You’ll learn how to:
- Set up a crypto wallet that supports NFTs
- Choose a trusted marketplace
- Fund your wallet with cryptocurrency
- Understand how to place a bid or buy instantly
- Keep your NFTs safe after purchase
Whether you’re collecting digital art, supporting a creator, or trying out blockchain ownership for the first time, these steps will help you move forward with confidence.
Step 1: Set Up a Crypto Wallet
Before buying any NFT, you need a digital wallet to store it. This wallet also holds the cryptocurrency you’ll use to make your purchase.
Popular choices include MetaMask, Coinbase Wallet, and Trust Wallet. Each works slightly differently, but all allow you to connect with NFT marketplaces.
If you’re using a browser like Chrome, you can install MetaMask as an extension. Mobile users can download wallet apps directly from the App Store or Google Play. After installing, you’ll be given a secret recovery phrase. Write this down and store it safely—this is your backup if you lose access to your wallet.
Step 2: Fund Your Wallet
Once your wallet is ready, it’s time to add some cryptocurrency. Most NFT marketplaces run on the Ethereum blockchain, which means you’ll likely need ETH (Ethereum) to buy items or pay gas fees.
You can buy ETH through an exchange like Coinbase, Binance, or Kraken. After purchasing, send the ETH to your wallet address. This address is a long string of characters that acts like your wallet’s ID.
When you paste the address into the exchange, always double-check that it’s correct. Sending crypto to the wrong address can’t be reversed.
Some blockchains use different tokens. For example, Solana NFTs use SOL, and Polygon NFTs can use MATIC. Check which network the NFT you’re interested in is on before adding funds.
Step 3: Choose a Marketplace
NFTs live on different platforms. Each marketplace offers its own collections, creators, and tools.
Popular marketplaces include:
- OpenSea – one of the largest platforms for Ethereum and Polygon NFTs
- Rarible – offers both fixed prices and auctions, with community governance
- Magic Eden – popular for Solana-based NFTs
- Foundation – features curated digital art and one-on-one pieces
Most marketplaces let you browse without logging in. Once you’re ready to buy, you’ll need to connect your wallet to the site. Look for the “Connect Wallet” button in the top corner, and follow the instructions.
Always make sure you’re on the official website. Scammers often create fake links that look similar to trusted platforms.
Step 4: Browse and Pick an NFT
Now comes the fun part—looking through the artwork, collectibles, or assets available. Marketplaces let you filter by category, price, rarity, and creator.
When you find something that interests you, click on it to see more details. You’ll usually see the item’s price, history, and attributes. Some NFTs have one-of-a-kind traits or limited editions, which can affect value.
If the NFT is listed with a fixed price, you can buy it instantly. If it’s listed as an auction, you’ll need to place a bid and wait for the timer to run out to see if you win.
Make sure to check the total cost, which includes gas fees. These are blockchain transaction fees and can vary based on network activity.
Step 5: Buy and Confirm
To purchase the NFT, click the “Buy Now” or “Place Bid” button. Your wallet will pop up and ask you to confirm the transaction. Review the amount, fees, and item before clicking confirm.
After the transaction is approved, the NFT will be added to your wallet. On platforms like OpenSea, you can view your collection directly in your profile.
Some purchases might take a few minutes to complete, especially during high traffic times. If the transaction fails, you may need to adjust the gas fee or try again later.
Step 6: Secure and Manage Your NFTs
Once you’ve bought your NFT, it’s yours. But keeping it safe is key.
Your wallet is your vault. Protect your recovery phrase and never share it with anyone. Avoid signing transactions from links or messages you don’t trust.
If you’re holding high-value NFTs, consider using a hardware wallet like Ledger. These wallets store your keys offline, offering stronger protection against hacks.
You can also organize and display your NFTs using platforms like Showtime or spatial galleries like OnCyber. These let you show off your collection in a creative way.
Step 7: Engage With the Community
Many NFT projects have active communities on Discord, Twitter, or Telegram. Joining these groups gives you updates on upcoming drops, collaborations, or events.
Collectors often build relationships with artists and fellow fans. This social layer adds meaning to your collection and helps you stay informed about trends or new tools in the NFT space.
Being part of the conversation also gives you early access to whitelists or allowlists for future releases, which can give you a better chance of securing limited drops.
Buying an NFT is more than just a transaction—it’s a way to step into digital ownership. With the right setup and a little research, the process becomes easier each time. Whether you’re supporting an artist or building your own gallery, each NFT tells a story worth holding on to.

No Responses